
If you love arts and crafts, decorating biscuits with Royal Icing can be highly addictive. For me sitting down with a bunch of biscuits and a piping bag is like practicing mindfulness.
Very easy to prepare but not so easy to use, Royal Icing is a mixture of sugar and egg whites beaten until you get a thick white paste. Once that stage is achieved, you can change its consistency and colour.
This recipe is aimed at beginners and focuses on the most important tips to start decorating. It presents two difficulties: finding the right consistency and using a piping bag and I will give you tips to perfect the technique.
For peace of mind, I always make my Royal Icing using meringue powder instead of raw egg whites to avoid any risk of salmonella (a bacteria that can be harmful to pregnant women, and young and elderly people).
This recipe is originally from Biscuiteers with just a tiny change. If you want to make biscuits as stunning as those of Elenis in NY or Biscuiteers in London, you can find many blogs and vlogs for inspiration (my favourite is www.sweetopia.com).
A decorar!
Ingredients
Meringue Powder Recipe
200cc warm water
30g meringue powder
1kg icing sugar
Egg Whites Recipe
4 egg whites
900g icing sugar
Utensils
Scale
Measuring jug like Pyrex
Spatula
Electric mixer bowl
Electric mixer
Pipping bag
Small bowl
Knife
Tupperware or big sealed bag (like Ziploc)
Cling film
Whisk
Kitchen towel
Preparation (same steps for both recipes)
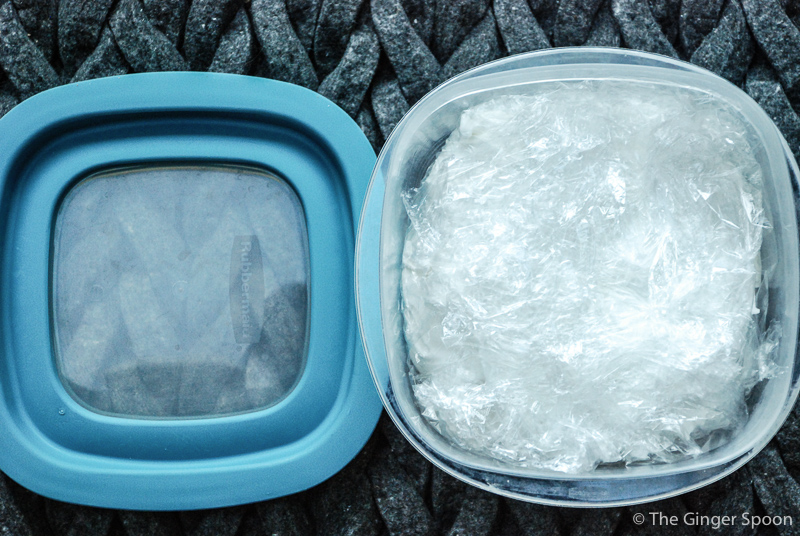
1. Prepare your bag or Tupperware: put a large piece of cling film inside the Tupperware so you can cover the Royal icing with it. Leave the Tupperware/bag next to the electric mixer ready to be used as soon as the Royal Icing is done.
 2. Dry ingredients: mix the meringue powder and royal icing in a bowl with a hand whisk
3. Wet ingredients: First put the water inside the bowl of the electric mixer and then add the dry ingredients
4. Mix with the electric mixer at very low speed (at the beginning cover your bowl with a large kitchen towel to avoid sugar going everywhere). Once the ingredients are mixed well, increase the speed to get a thick white paste. You should have stiff peaks when you lift the beater

5. Move the mixture into the prepared Tupperware/bag and seal or cover it well (the plastic must touch the Royal Icing) to keep it fresh, soft and without crust
6. You can save it for up to two weeks in the fridge. All you need to do when you are ready to use it is to beat it again with the electric mixer.
7. If you want to use it now, follow the below instructions!
Recipe Resource: Biscuiteers
How to use Royal Icing
1. Adding Colour: to colour the icing use a few drops of food colouring and beat the Royal Icing with an electric mixer or with a hand whisk until you get the desirable colour.
2. Consistency: Use the 10 seconds rule to achieve the right consistency.
– Put the desired quantity of Royal Icing in a bowl and add water with a small spoon, whisking in between each spoonful until you get a honey-like consistency.

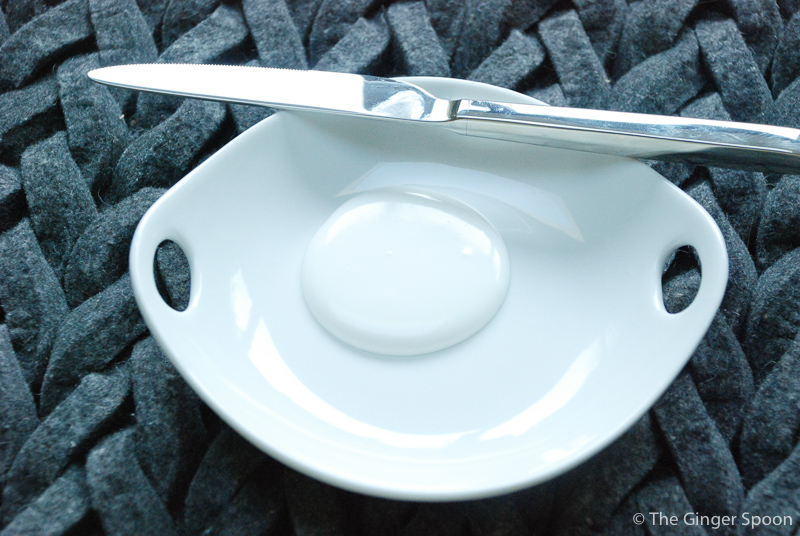
– To check if it’s ready, put a small amount of Royal Icing on a plate, drag a knife through it, and slowly count to 10. If the mixture looks smooth before you get to 5, it is too runny, but if the mixture looks smooth nearer number 10, it is ready!
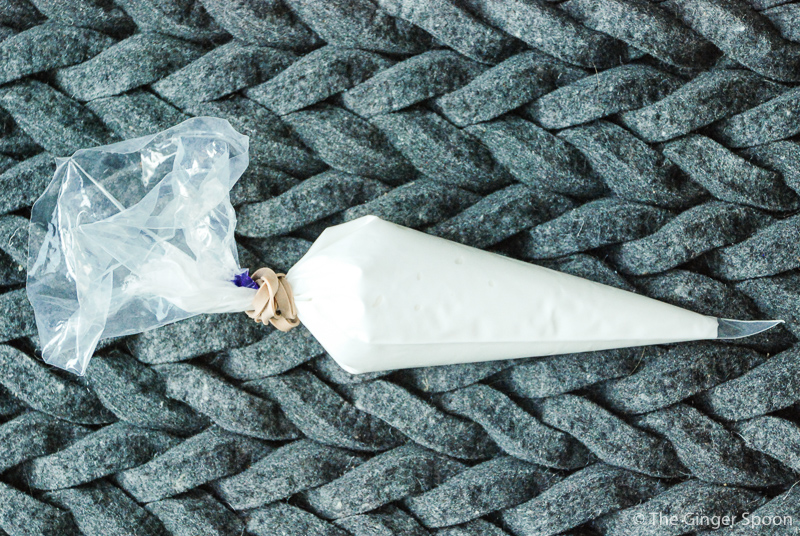
3. Piping bag: put the mixture in a piping bag (you can use a tip or cut the bag with scissors but make sure the hole is small – you can always cut it again). Cover the opening with a damp towel while it is not in use as the icing hardens very quickly.
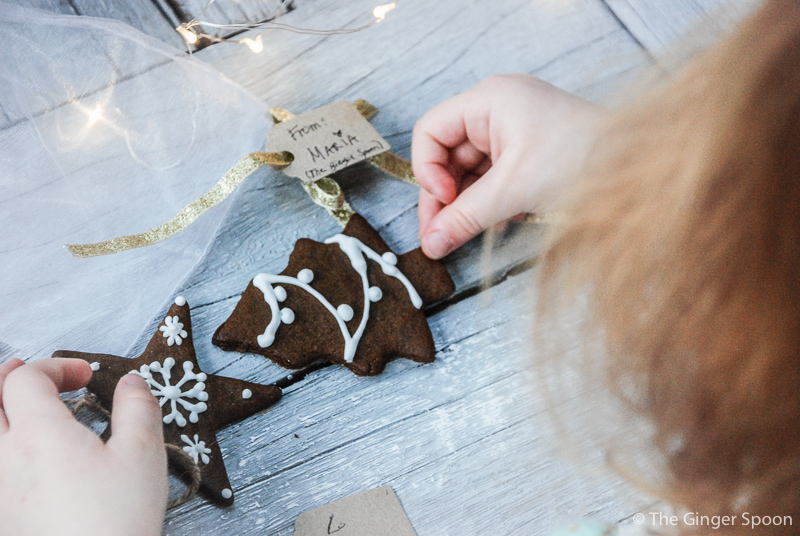
4. Decorating your biscuit: you can use a simple pattern or cover it completely.
– To cover it completely you can use a hard consistency to create a ‘wall’ around the biscuit and then a runny one to flood the biscuit (prick the bubbles with a toothpick). Personally I use the same consistency for both purposes. Just give a little shake to the biscuit at the end if you are flooding it. Let it to dry for an hour before adding more details.
This video from Emma’s Sweets shows it clearly :
5. Let the biscuits dry out for 24 hrs.
6. Keep them in an airtight container.
Would you like some decoration ideas for your biscuits? Please check the following link:
